Close Menu
  • Home
  • Start Here
  • About
  • Guides
    • Security Cameras
    • DIY Alarm Systems
    • Smart Locks
    • Video Doorbells
    • Smart Home Security
    • Buying & Setup Guides
  • Contact

Build Your Security Plan

Practical DIY guidance for U.S. homeowners and renters.

Start with the checklist
Start Here

Self-Monitoring vs. Professional Monitoring: How to Choose

Home Security Costs: Build a Three-Year DIY Budget

Renter-Friendly Home Security: Plan a Portable DIY Setup

Facebook X (Twitter) Instagram
  • Home
  • Start Here
  • About
  • Guides
    • Security Cameras
    • DIY Alarm Systems
    • Smart Locks
    • Video Doorbells
    • Smart Home Security
    • Buying & Setup Guides
  • Contact
Facebook X (Twitter) Instagram Pinterest
MARTIN GUARD
Start Here
HOT TOPICS
  • Start Here
  • Security Cameras
  • DIY Alarm Systems
  • All Guides
MARTIN GUARD
You are at:Home»DIY Alarm Systems»How to Install Door and Window Sensors Correctly
DIY Alarm Systems

How to Install Door and Window Sensors Correctly

bmichartBy bmichartNovember 6, 2026012 Mins Read
Share Facebook Twitter Pinterest LinkedIn Tumblr Email
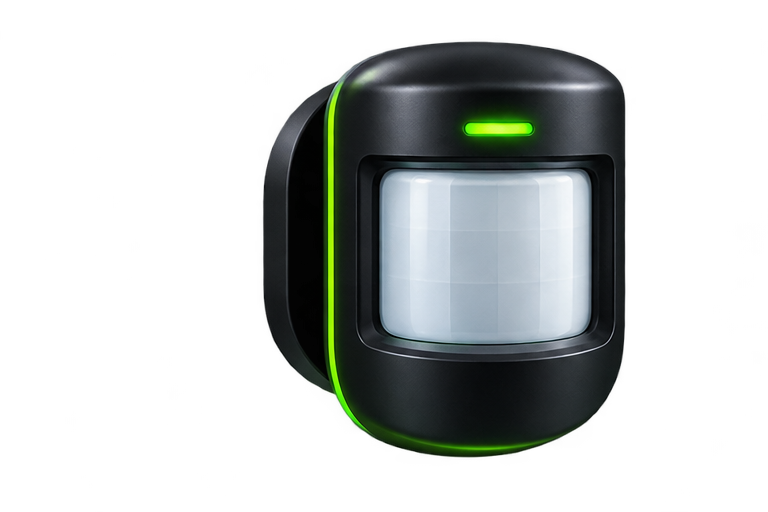
Illustration of a home security motion sensor
Illustrative artwork; not a photograph of a tested product.
Share
Facebook Twitter LinkedIn Pinterest Email

Most contact sensors have two parts: a sensor body and a magnet. The system detects whether those parts are close enough to count as closed. Correct alignment matters more than making both pieces look symmetrical. Follow the instructions for your exact model, especially on metal frames or recessed doors.

Before mounting

Pair the sensor near the hub, assign a location name, and open and close the two parts by hand to confirm a status change. Check the battery tab has been removed and that the hub receives the signal. Then take the sensor to its final location and repeat the test before attaching anything.

Choose a stable surface

Clean and dry the mounting area according to the adhesive instructions. Flaking paint, loose trim, dust, and textured surfaces can weaken a bond. If screws are recommended, make sure the mounting method is suitable for the frame and permitted by your lease. Do not drill into wiring, glass, or a surface you cannot identify safely.

Respect the specified gap

Manufacturers set a maximum gap and alignment marks for each model. Do not substitute a generic gap from an online video. Uneven trim may require an approved spacer. Check that opening the door will not strike or dislodge either part. Test with the door fully latched and with any weatherstripping compressed as it normally is.

Test the real entry routine

  1. Confirm the app shows closed when the door is securely shut.
  2. Open it slowly and verify the status changes.
  3. Close and latch it several times to check consistency.
  4. Use the alarm’s test mode to confirm the configured response.
  5. Check entry delay settings for doors used to arrive home.

A status notification is not proof that professional monitoring receives an alarm. Use the provider’s testing process if you have that service.

Recheck after installation

Adhesives can shift, doors can swell with weather, and batteries eventually weaken. If a sensor intermittently shows open, inspect alignment and the mounting surface before replacing the whole device. If the app reports offline rather than open, investigate battery and radio coverage instead.

Continue with our DIY alarm starter guide or learn how to reduce false alarms.

Share. Facebook Twitter Pinterest LinkedIn Tumblr Email
Previous ArticleDIY Alarm Systems: A Practical Starter Guide
Next Article How to Reduce False Alarms in a DIY Security System
bmichart
  • Website

Related Posts

How to Reduce False Alarms in a DIY Security System

November 6, 2026

DIY Alarm Systems: A Practical Starter Guide

November 6, 2026
Add A Comment
Leave A Reply Cancel Reply

Start Your DIY Security Plan

Choose practical protection for your home, budget, and everyday routine.

Read the checklist

Essential Security Guides

Self-Monitoring vs. Professional Monitoring: How to Choose

November 6, 2026

Home Security Costs: Build a Three-Year DIY Budget

November 6, 2026

Renter-Friendly Home Security: Plan a Portable DIY Setup

November 6, 2026
Latest Security Guides

Self-Monitoring vs. Professional Monitoring: How to Choose

By bmichartNovember 6, 2026

Home Security Costs: Build a Three-Year DIY Budget

By bmichartNovember 6, 2026

Renter-Friendly Home Security: Plan a Portable DIY Setup

By bmichartNovember 6, 2026

Build Your Security Plan

Practical DIY guidance for U.S. homeowners and renters.

Start with the checklist

Questions or Corrections?

Email info@martinguard.com. Include the guide URL and keep passwords and access codes private.

Security Planning

Self-Monitoring vs. Professional Monitoring: How to Choose

November 6, 2026

Home Security Costs: Build a Three-Year DIY Budget

November 6, 2026

Renter-Friendly Home Security: Plan a Portable DIY Setup

November 6, 2026
Latest DIY Guides

Self-Monitoring vs. Professional Monitoring: How to Choose

Home Security Costs: Build a Three-Year DIY Budget

Renter-Friendly Home Security: Plan a Portable DIY Setup

Build Your Security Plan

Practical DIY guidance for U.S. homeowners and renters.

Start with the checklist
© 2026 MARTIN GUARD. DIY Home Security Guides.
  • About
  • Editorial Policy
  • Affiliate Disclosure
  • Privacy Policy
  • Contact

Type above and press Enter to search. Press Esc to cancel.